Information: A custom casing for the senseBox:home is currently in development, but not yet available. The setup shown here thus is just an examplary assembly. With a bit of creativity, you can design a decent casing for your specific installation site!
Exemplary setup
This hardware setup requires that the previous steps are completed, and the station is registered on the openSenseMap.
To set up the senseBox outdoors, a long ethernet cable, a Power-on-LAN (POE) adapter, and a weatherproof case is required. Additionally the following tools are needed:
- hot glue
- drill
- screw-driver
- cable ties
Casing
For requirements on the casing see the first section of this guide. We use this case, which is available for order on the manufacturer's webshop.

Cable routing
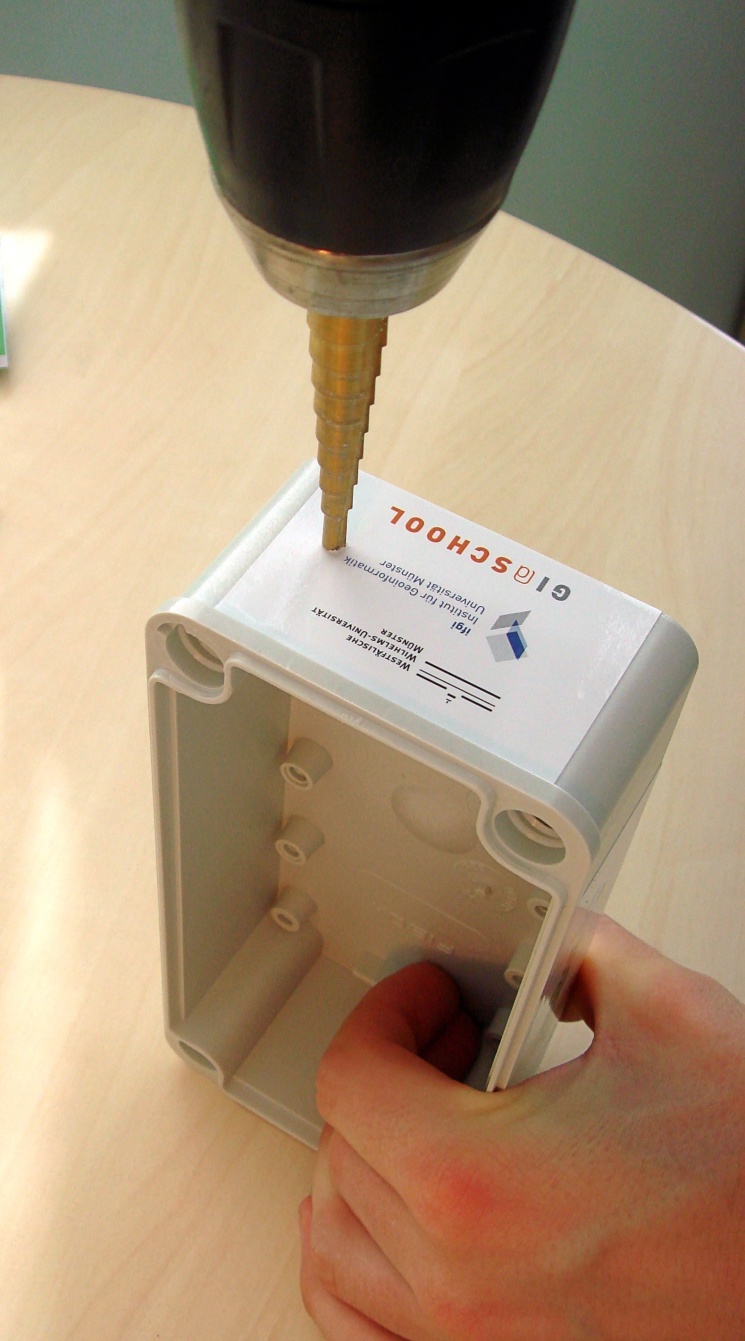
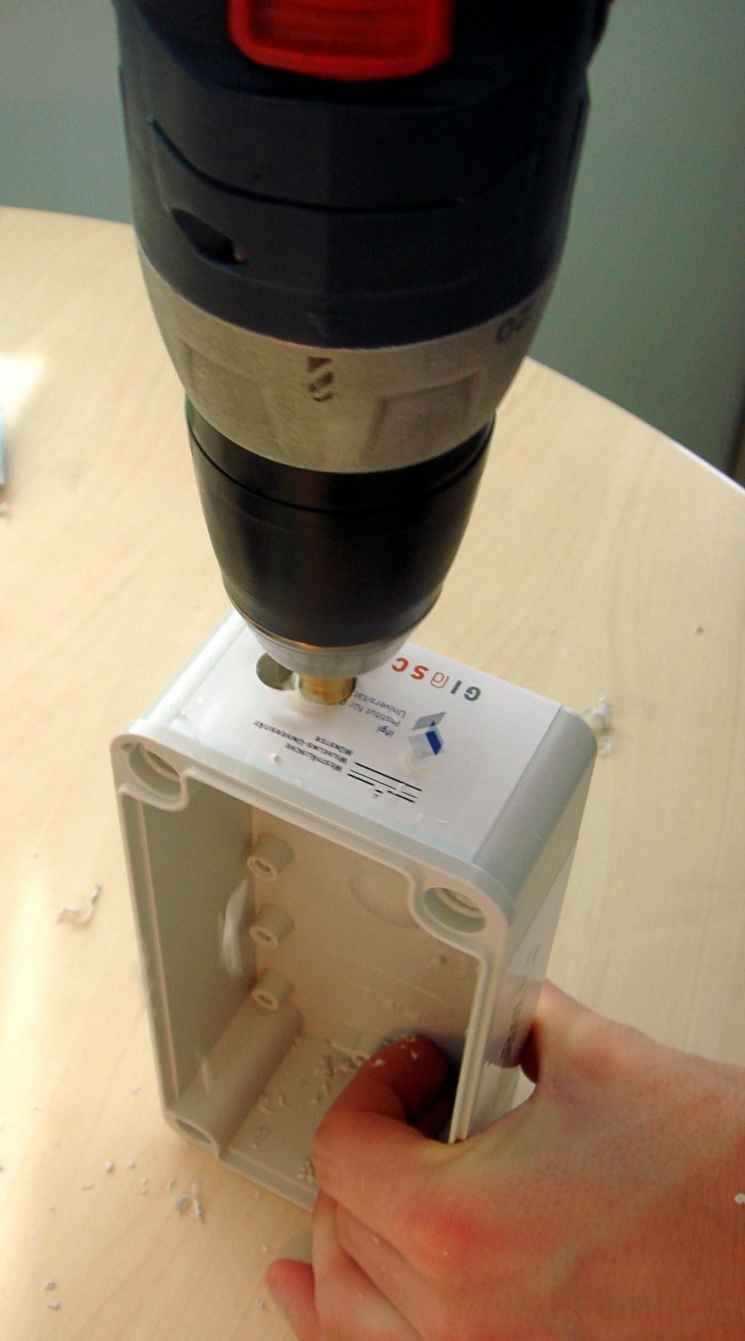
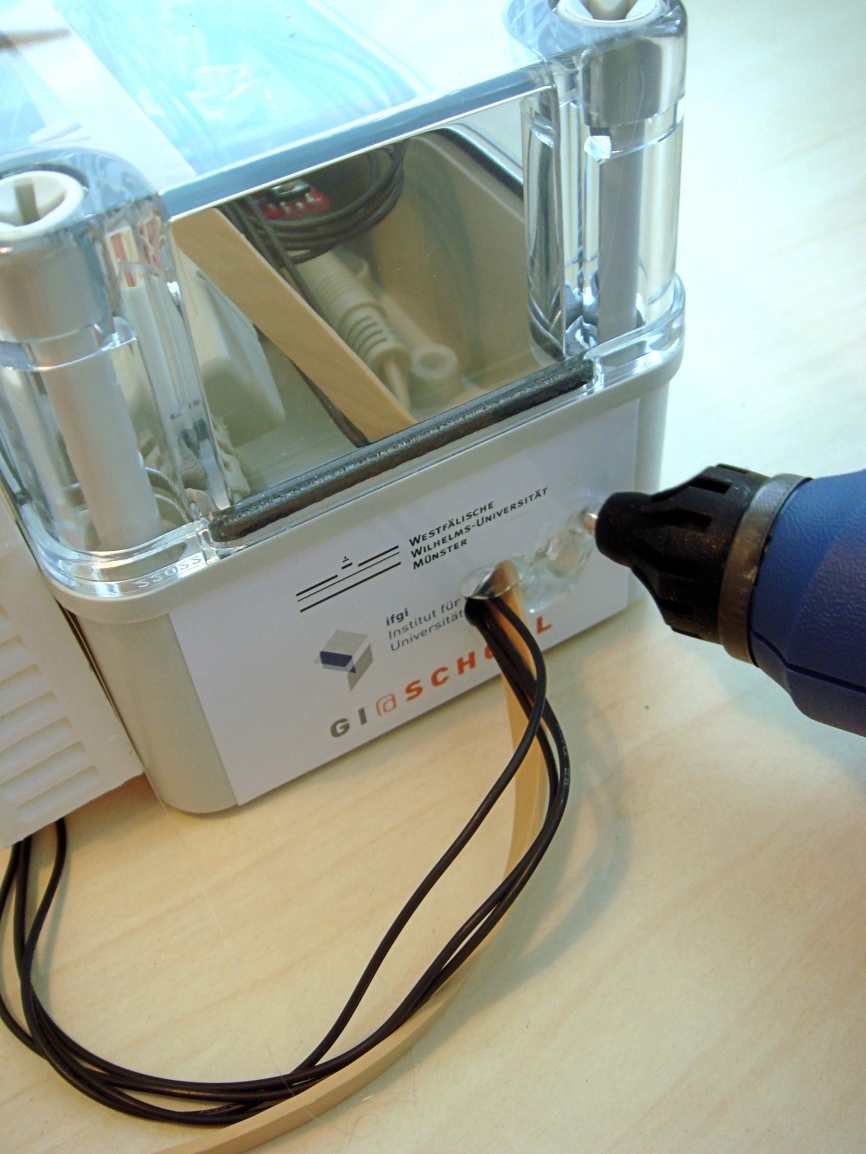
The combined power- and ethernet cable, as well as the long connection cable to the HDC1008 temperature sensor is run through a 15mm wide hole, which we drill through the side of the case:
 |
 |
Mounting the circuit board
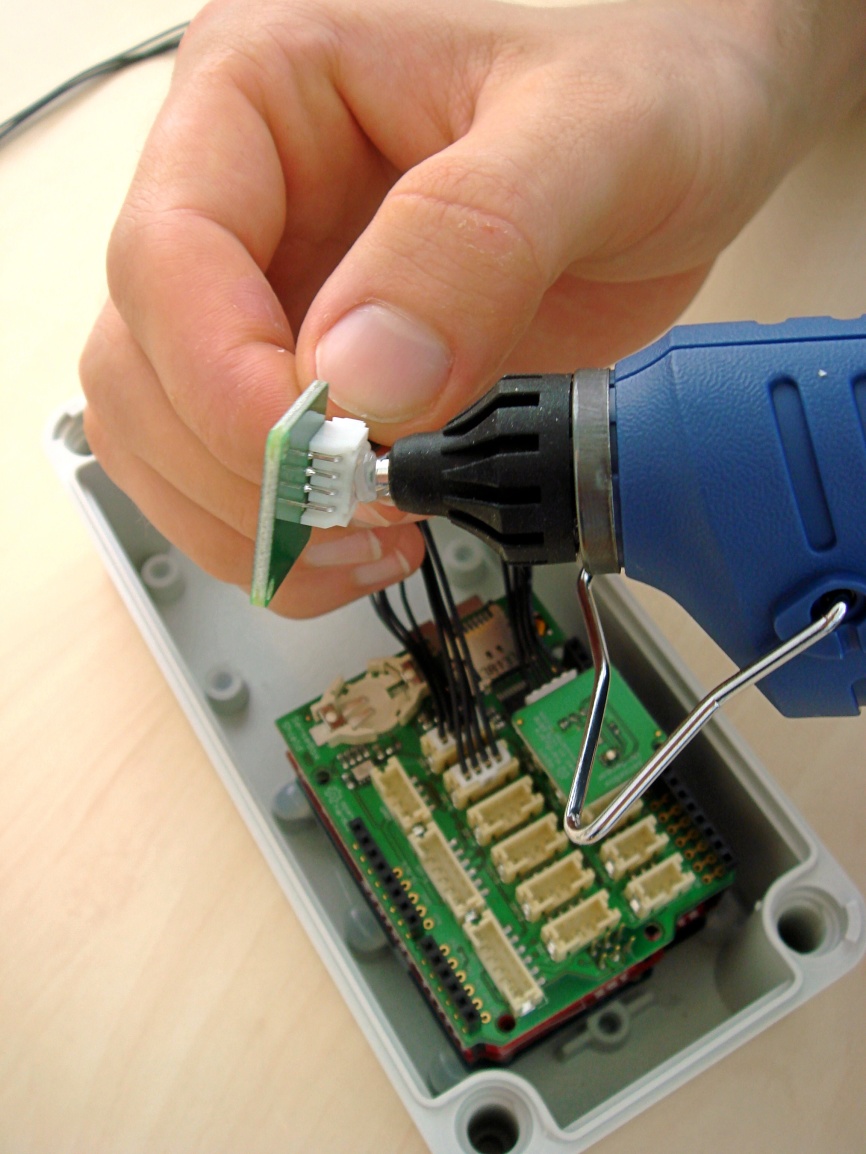
To fix the main board into the casing, simply a few points of hotglue are required. With a bit of pressure it should sit soon well within the case:

Mounting the sensors
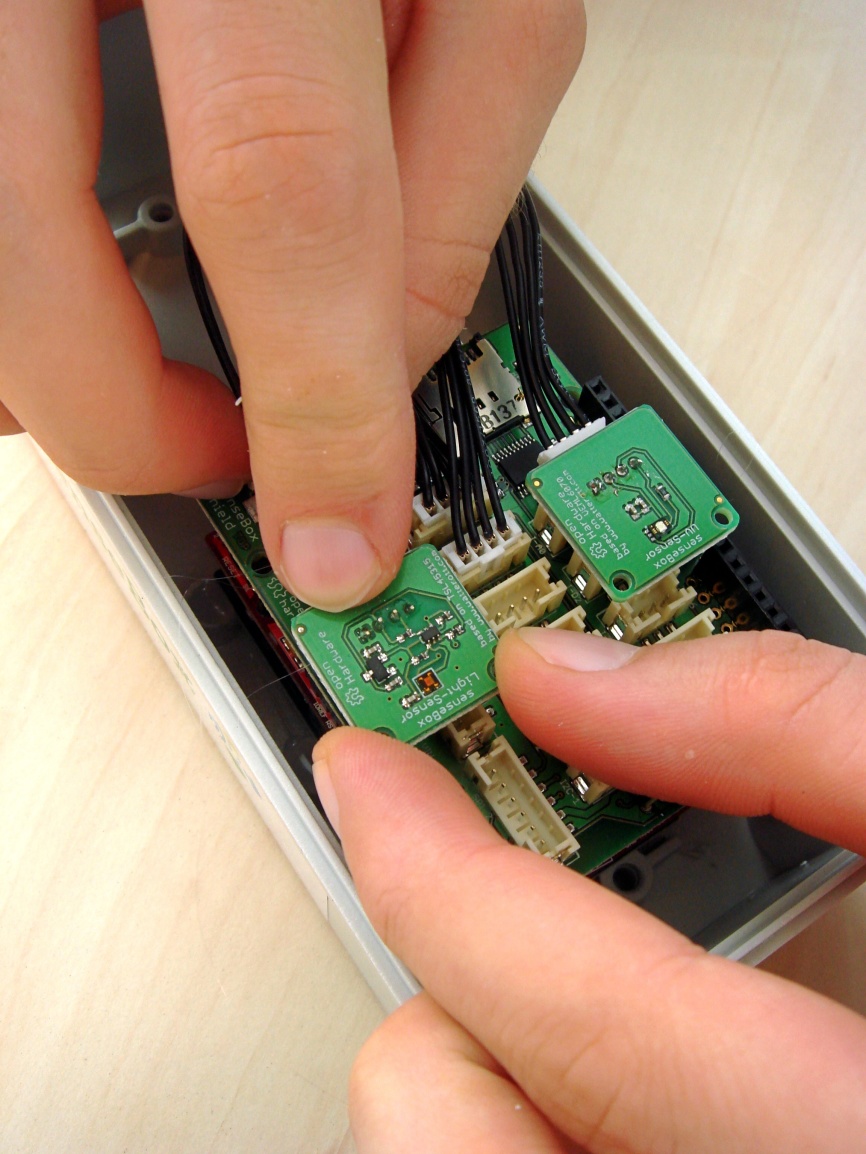
When attaching the sensors, make sure no residues of adhesive get onto the front side of the circuit board!
Both light-sensors (VEML6070 and TSL45315) are placed on top of the senseBox shield, as they require an unobstructed view to the transparent case-top.
Make sure they are not covered by cables later on!
 |
 |
The air-pressure sensor (BMP280) is placed on the side of the case:
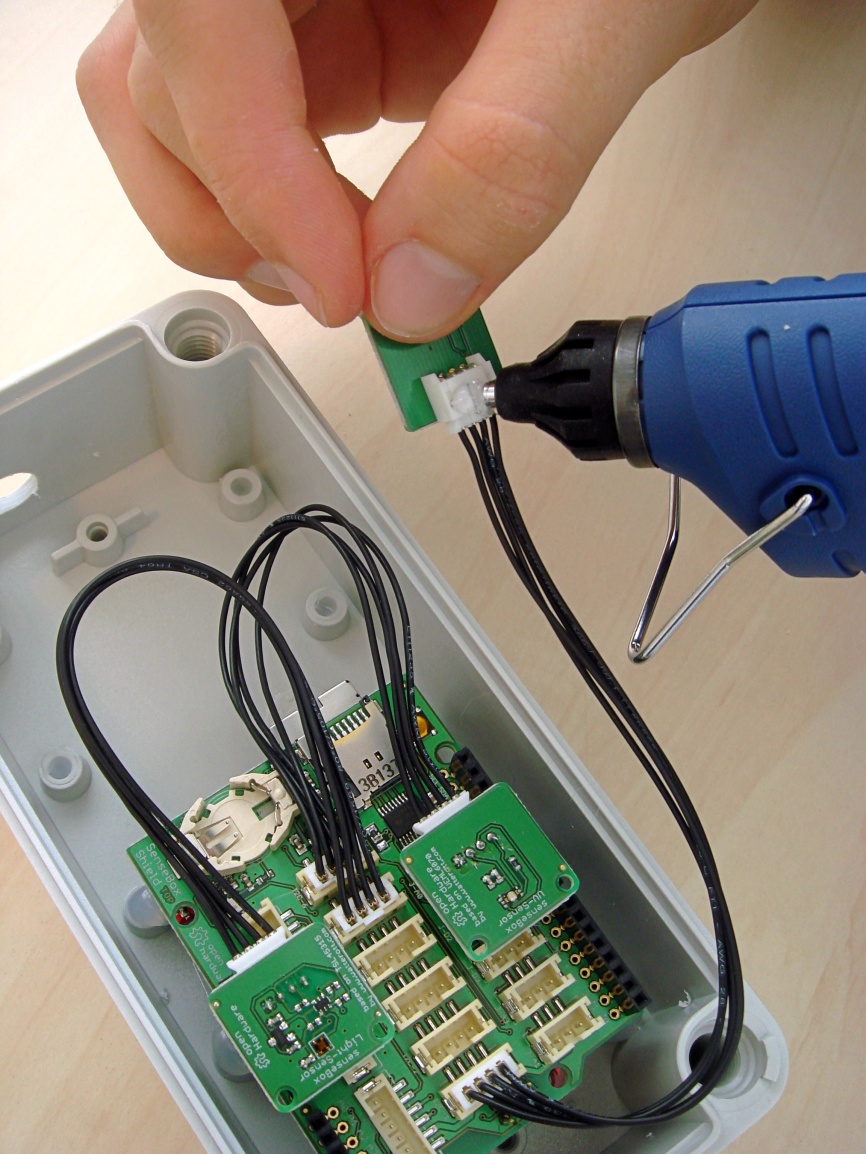 |
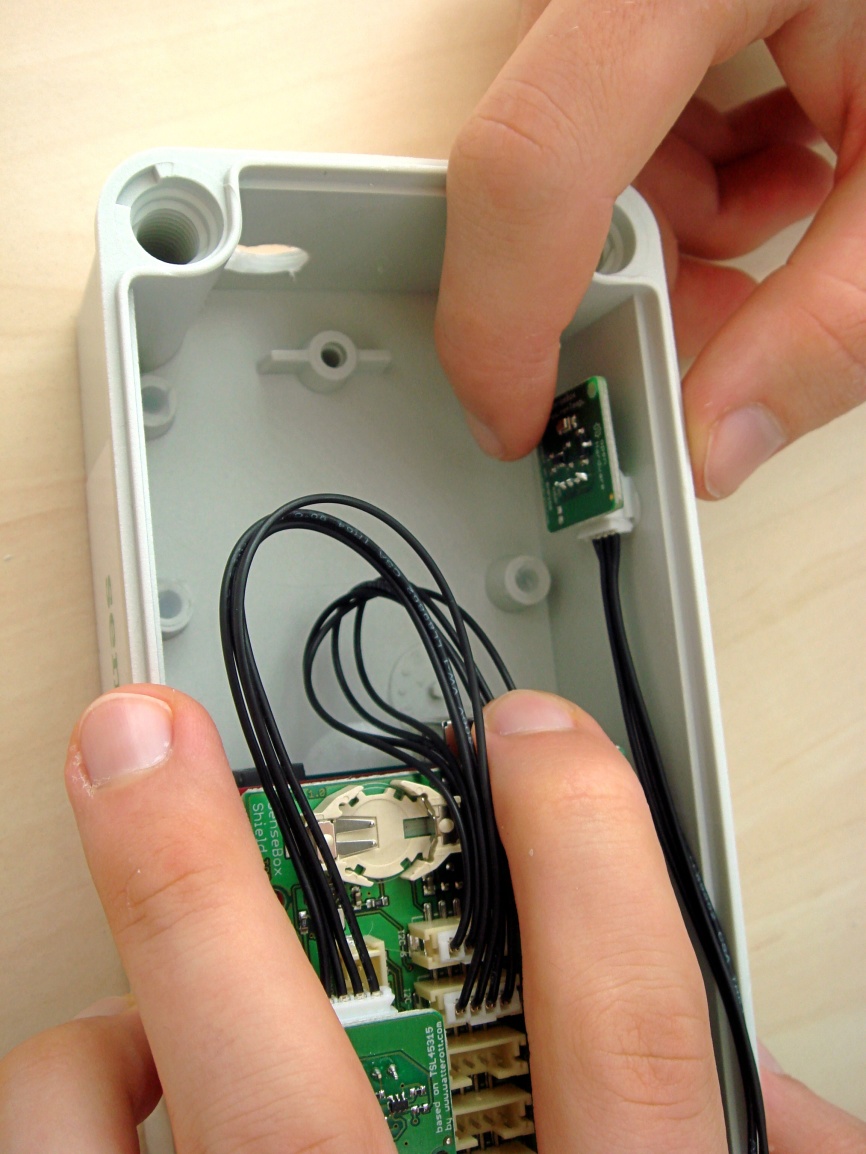 |
Mounting the temperature sensor
Air-pressure and -temperature are affected by the wasteheat of the microcontroller.
Thus a separate housing (see below) for the HDC1008 is required, that has a better airflow, but still protects the sensor from rainwater.
We use the long connection cable for this sensor and route it through the drilled hole:

Power and network connection
To provide the station with power, we use a POE-adapter as it uses up less space in the drilling hole. The usual power connection may be used instead of course.
The adapter is connected to the respective connections on the main boards. Afterwards we route an ethernet cable into the case and connect it to the adapter:
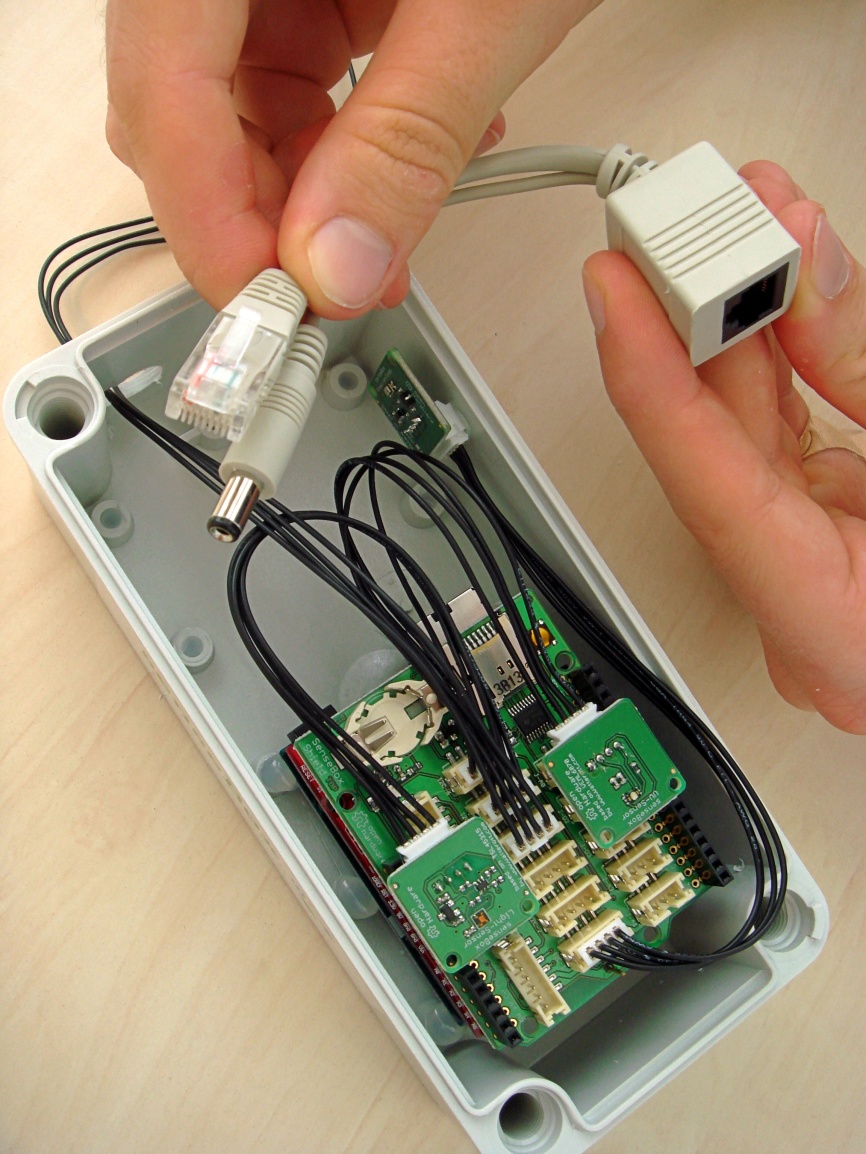 |
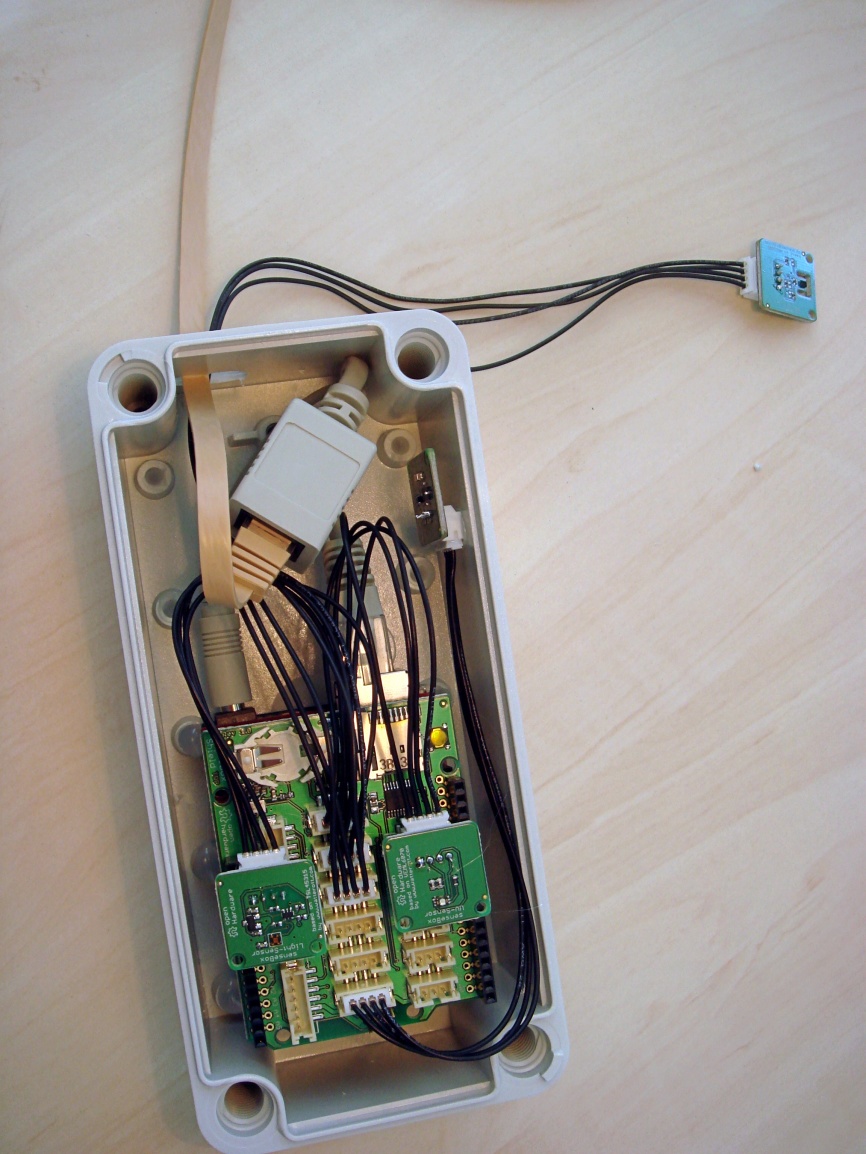 |
Now we are done with the casing and it may be closed!
Casing for the HDC1008
To make the placement of the temperature sensor weatherproof, we 3D-printed a small separate casing:
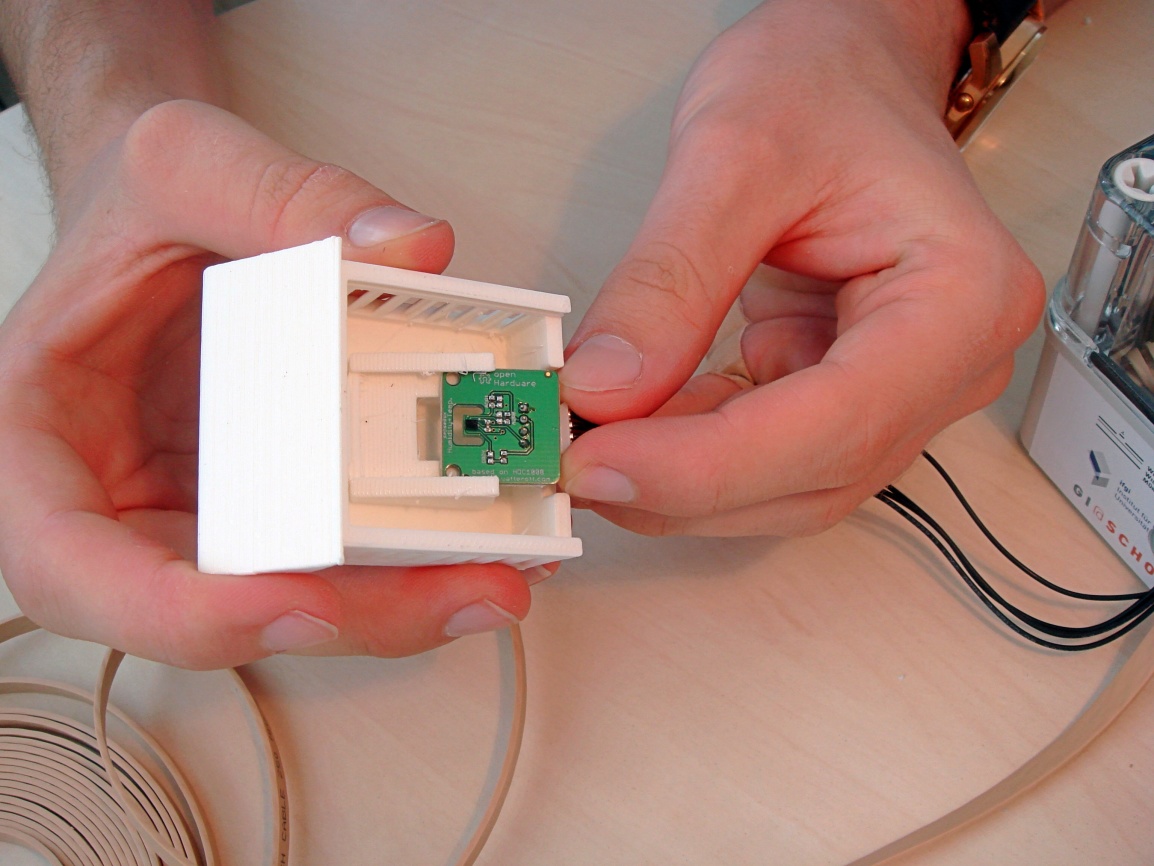
After sliding the sensor board in and closing the lid, we attach the case onto the main FIBOX case with hotglue.
Seal the case
At last we need to make sure that no water gets into the case. Once again we use our hot glue, and seal the drilled hole:
Final result
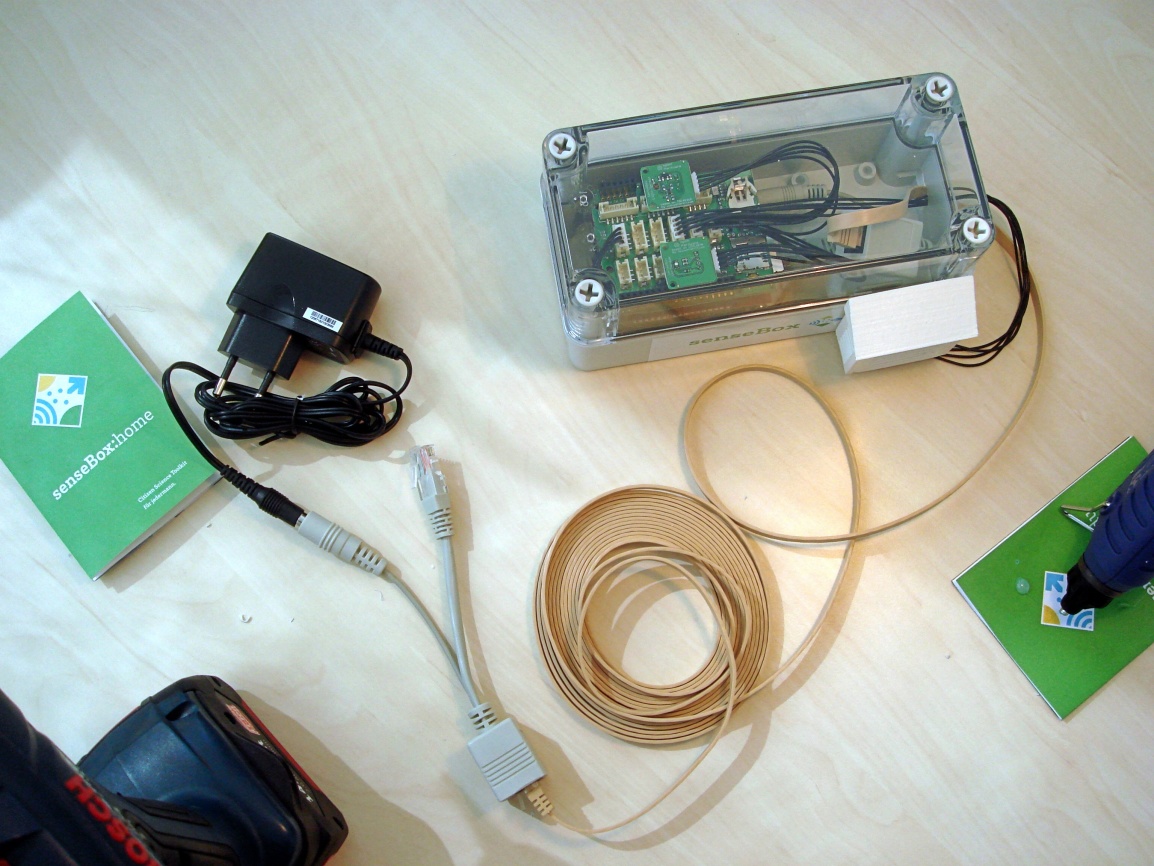
For the installation we attach the second piece of the POE-adapter to the ethernet cable, and connect the senseBox to the network and power supply.
done!
 |
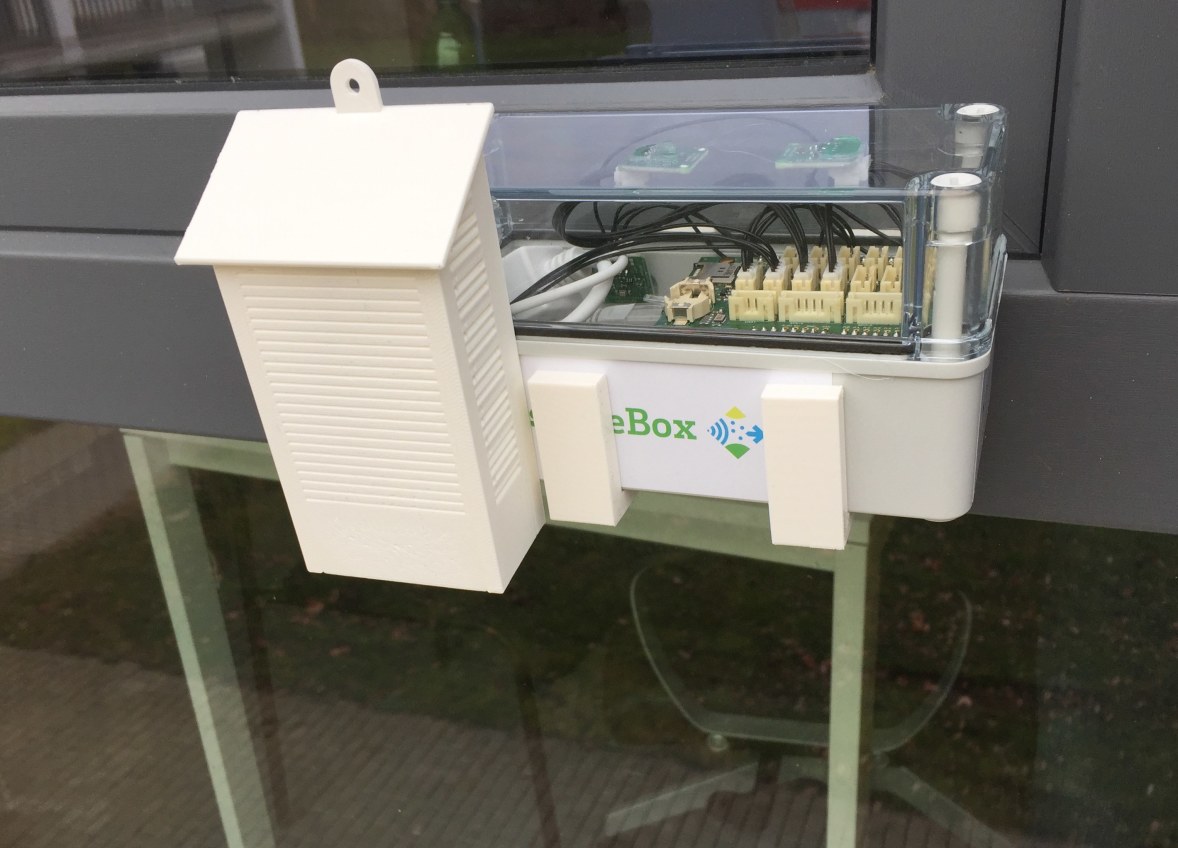 |
hint: Look for a location for the station, which ideally is directly exposed to the sky and is unobstructed in its surroundings
warning! you need to place the power plug outdoors, absolutely use a weatherproof junction box!
